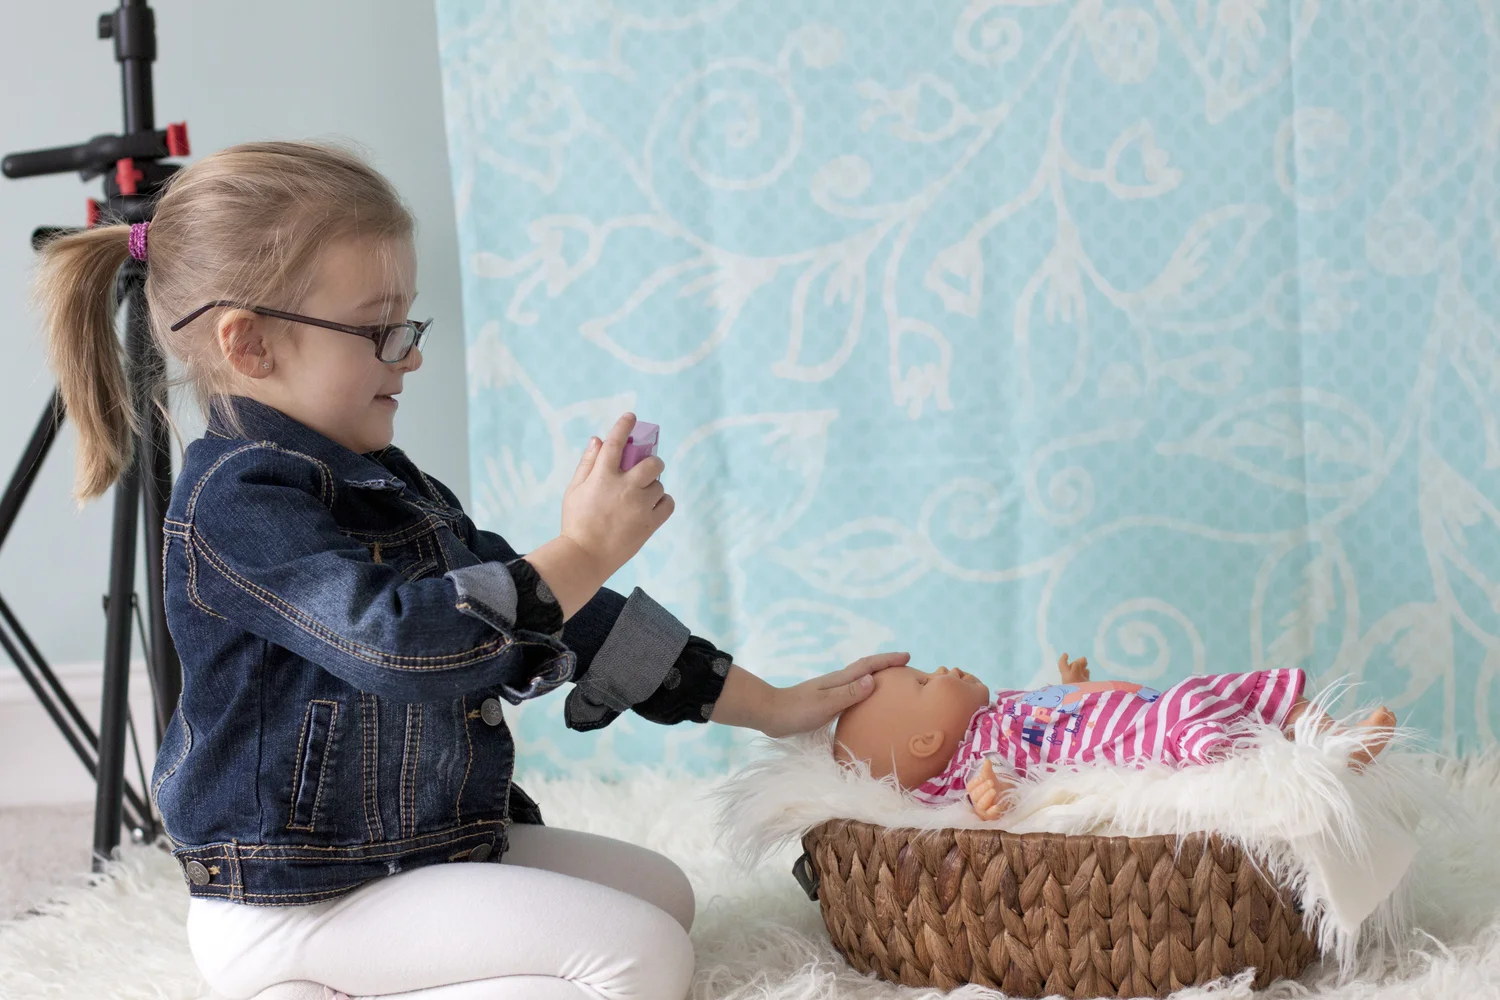
Well, this is a loooooong time coming and I am so happy to begin taking clients again! After almost 12 months of managing my autoimmune disease and finding a treatment plan that works for my condition, I can now confidently schedule clients with out fear that I will have a flare up. Please share this so others know that they can now schedule their on-location sessions beginning the first week of May 2016.
Why Custom Photography Costs More
The digital age has attracted a large number of people into this world of capturing life's priceless moments. Whether it is the amateur taking a quick snap shot, the hobbyist, the enthusiast, or the professional, photography in the digital sense has allowed "photographers" great freedom. In my opinion there are two aspects of photography where I hear the most questions regarding pricing. Print pricing and session fees. This post will be geared more toward the session and I will follow up with the technicalities of print pricing in a later post.
First, think about TIME. Time is not just the time spent with the client. In fact photographers spend less time photographing than they do doing the behind the scenes work. Prior to a client's first contact with a photographer, the photographer is spending time marketing. This includes maintaining a web site and social media, creating flyers for advertising, meetings with other vendors for co-marketing and so on. Then we finally get to when our clients contact us to capture memories that reflect that special time in their life. Our time goes a little something like this (of course it will vary depending on the type of session...mini, wedding, etc.) and what your photographer offers:
- booking time (client contact to discuss schedule, session goals, etc. plus paperwork) 30 min-1 hr
- pre-session preparations (studio set up or packing gear) 30 min-1 hr
- travel time (we often go to more than one location per day) varies, but for this we'll say 30min-1 hr
- photographing time/actual session 1.5-2 hr, more for newborns
- packing up gear and travel from the session, again we'll say 30-60 min
- editing time 2-5 hours
- presentation of images (dependent upon photographer) could be 30 min-2 hour
- preparing special order items 30 min-1 hr
- sorting and checking orders 30 min
- any additional add on time for ordering, shipment or quality issues 30 min-1 hr
So for this example the photographer is spending approximately 13-18 hours of time for one session. And let's say she charges you $150-$300 for YOUR time. She is actually spending at least 9--12 hours more of hers.
The other two aspects to think about are 1) the costs of maintaining a photography business and 2) the whole concept of "you get what you pay for." I'll leave the costs of maintaining the business for my next post, Why A Photographer's Prints Cost more. There is A TON more here than what you think!!!! I promise!
Anyway, time to compare apples to oranges. So just what will you get with a quick stop in the department store photo studio? A quick 30 minutes session, a photographer who is pressured to maintain his schedule and therefore has little patience to let children settle and become comfortable in a different environment, and a series of posed, run of the mill, completely unedited images with fake cheesy backgrounds. Bear in mind that they are on a schedule and pressured to keep the flow going because they do charge so little. This is how they gain any profit...any therefore pay the bills. If they charge a little, they have to photograph A LOT.
Now let's take a look at what you receive with a custom photographer. First and foremost the client takes the lead! The client chooses a photographer whose style is in tune with his own. The photographer and client work together to create a vision which allows for a comfortable and enjoyable session. What you will usually also receive is edited images, which means colors are calibrated, blemishes are removed, and so forth. What I think is the most important part of custom photography is the relationship that can be built. Custom photographers do not want a quick "hi, how are ya, let's take your picture, now leave" experience. We want to have fun, to connect with the members of the family, help the babies and children feel comfortable and adapt to the possibly new park, studio, or farm they are in. We enjoy working with people as much as we enjoy photographing...that's why we do it! We take extreme pride in our creativity, visions, and work. Remember, photography remembers things long after time has passed and the mind has difficulty remembering. Choose your photographer wisely to capture the moments in time that you want to hang on to. Those moments that make life worth living.
What To Wear
COORDINATE but DON'T MATCH...Here's what works best. First pick a color palette. Next choose one person to carry a pattern in their outfit (plaid shirt, striped dress, etc.). The rest of the group's clothing and accessories should then pull colors from the pattern and color palette while remaining more simple.
LAYERS and TEXTURES...These add great pops of color and character to the photo. Some great ways to layer are by adding a polo under a boy's plaid shirt, a denim jacket over a dress, a peacoat with matching shoes, or a puffy vest in the cooler months. Add texture by choosing clothing and accessories that have smocking, lace, embroidery, ruffles, hand knit items or crocheted items.
ACCESSORIES...Accessories also add great pops of color and complete an outfit. Just be careful and don't over do it. We want the viewer of your photo to notice YOU and not be distracted. Here are some suggestions: fun boots, scarf, knit hat, crocheted hair accessory, fun belt, gloves.
Cropping Your Image
I am often asked, "I downloaded my images and ordered an 8x10 but my son's foot is cut out of the picture! What happened?" This is called aspect ratio. Most professional photographer's will be using a DSLR with a 3:2 aspect ratio which will provide you a print whose long side is 1.5x's longer than its' short side. So this means in order to keep your image framed just as you view it on your screen your prints will have to maintain their 3:2 aspect ratio, or rather, be printed at 4x6 inches, 6x9 inches, 8x12 inches, and so on. Given the space and lens some photographers will shoot wider so there is more wiggle room for cropping. Otherwise keep in mind that when you are printing that 8x10 or 16x20 you are ordering an aspect ratio of 5:4 and will be loosing a portion of the image. If you think your image looks "funny" when you crop your image, use your photographer! S/he can help you reframe the image in an eye pleasing way.


